While playing around in the new Ark Genesis, I found different tips and tricks that make this new Genesis Ark Map more tolerable, and actually quite fun to play without cheat codes! (Can you believe it?!!) Knowing where resources spawn for each biome, utilizing the new HLN-A robot, and how to combat the new creatures are things we are going to discuss in this article.
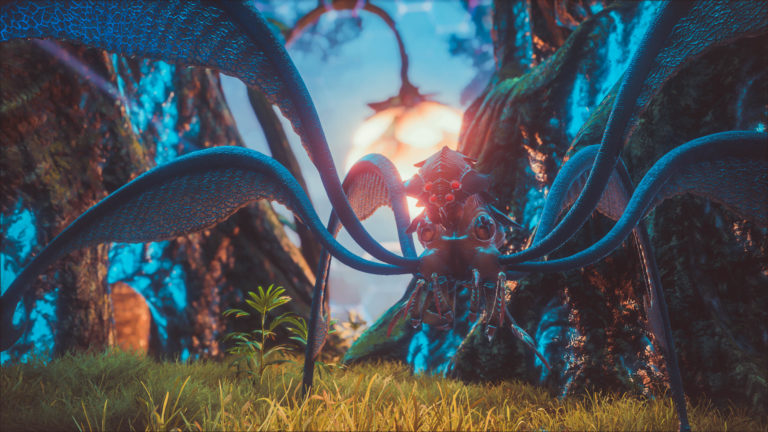
All other versions of the Ark maps are mild IMO compared to this new Genesis Biome Teleporting map. They are insane. The easy map isn’t easy at all. Insect Swarms are around every corner waiting to kill your stamina rendering you immobile. Being immobile is not something you want since giant crocodiles and dinos are waiting to pounce on you. And when I say pounce I mean POUNCE. They creep around and dash at you knocking your character back four feet or into a river filled with piranha.
Needless to say, I died many times. I believe the intention is to transfer around your main high-level character through all the maps, taking with you all the engrams, and weapons. I did not do this, we chose to start from scratch and add a mod that allows you to earn the engrams from the other maps when you reach the level for that engram.
And to another point, even if I did bring a high-level character, I still think it would be hard. You have to find resources and set up base with an assortment of all new types of monsters that want to eat you. In addition, all the resources are spread out between the different maps, so you have to port around and then make it back to your home base. It is definitely a challenge.
Table of Contents
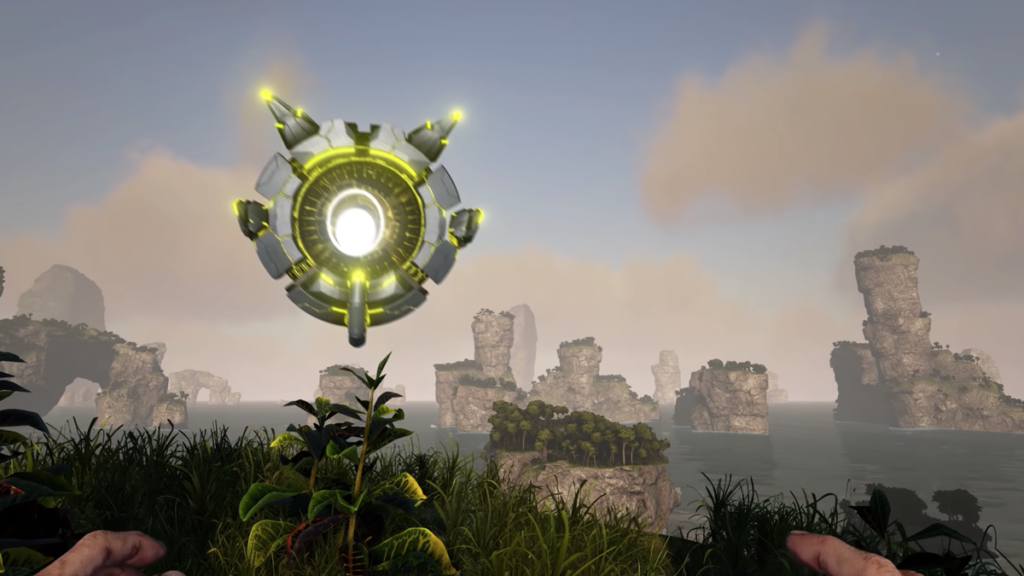
Tip 1: Use the New HLN-A Robot Companion’s Hexagon Exchange Store
This little robot pet hovering around you offers up witty commentary, biome teleportation, mission assistance, and the Hexagon Exchange Store. No one else can see her, only you, and she aids you in specific needs.
The Hexagon Exchange store will be a vital necessity in the early levels. This store allows players to purchase some of the resources needed for crafting. Personally, I only buy things like Cryopods, Chitin, or Pelt, things that are hard to get in a pickle. Metal, pearls, oil, even obsidian are all things that feel difficult to earn, but if you know where to look there is no reason to waste Hexagons.
How to earn Hexagons for the Hexagon Exchange Store in Ark
Hexagons are fairly easy to come by, but the pool of readily available hexagons will run scarce, so be cautious about how fast you blow through them.
Glitches
The first method is finding Glitches. Glitches are beams of purple light. Follow the light (similar to supply drops in other maps) and “remove” the glitch. When doing so, HLN-A tells you a short story and you earn 1,000 hexagons.
Complete Missions
Another method is through the missions. Completing missions award Hexagons. Mission zones are highlighted when placing building pieces or can be toggled on at all times by speaking with HLN-A. Ask her to “show” (or hide) the Mission Zones. Also, when passing through a mission zone you will receive a notification that you are currently in a mission zone.
Say Hello!
The third method of obtaining Hexagons is by speaking with HLN-A. Every so often (I have not timed it) she will flash yellow, this will be easier to see in third person. This is only a flash of yellow and then turns back blue so it’s easy to miss. Once this happens, she will have a new prompt that says “Say Hello” when you do this she gives you 300 Hexagons. By far the easiest way of earning Hexagons. This is a super valuable resource, don’t forget to check with her for these Hexagons!!
Tip 2: Use Spike Traps While Out and About
Place Spike Traps down between you and the creature attacking you. This is a good tip for any level in my opinion as it aids in protecting your armor as well as your health bar. However, it is most beneficial when starting out because it helps protect your fragile low-level self.
I found this to be EXTREMELY helpful. Always keep some spike traps on hand, and when you inevitably get pounced or need to escape, drop a spike trap between you and your attacker. The creatures will take the path of least resistance, so make sure to position yourself in an angle in which they will be forced to interact with the spikes.
If all goes according to plan, the creatures will attack the spikes instead of you. From this point, you can either attempt to attack or let the spikes do the work. Another benefit of this, if you have spikes placed randomly around your favorite gathering routes animals will attack them and die making for easy hide gathering and thus clearing up some of the spawns making your travels more enjoyable.
Tip 3: Get Familiar with the Biome Teleport Spawn Points
If you are someone who wants to bounce around between the Biomes, live in a location that is fairly easy for you to get back to. Nothing is worse than losing your stuff due to death while spawning into a biome and not being able to get back to it before it disappears. Don’t put up shop right on the spawn point because you will be glitched between your pieces when you arrive.
If you are in PvP, you don’t want to be right on the spawn point because you will be an easily found target for raiders. Hide your base, but not so hidden that you lose your stuff in transport. We found it’s best to have a base in all the zones. This makes resources spread thin, but gives the advantage of being able to relax while in each zone.
If you are on a personal server, you should also take into consideration the resources near the different spawn points. I actually think they did a really good job of spreading all the resources out for Genesis.
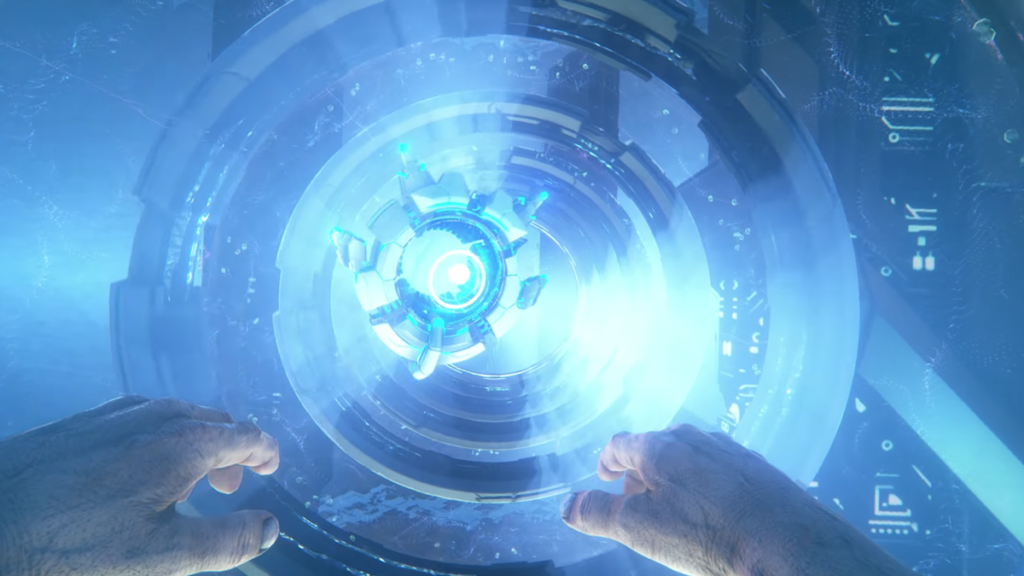
How to Teleport Between Biomes
When transferring to a new zone speak with HLN-A, select the biome of your choosing, and the region within that biome. When activated she takes you and any tribe mates, teammates, or tamed dinosaurs within the teleportation bubble. DISCLAIMER: All tamed animals travel with you, so if you have dodos or an otter, something you don’t want to be ported, make sure you start up the teleport away from them.
Each zone has an estimated difficulty. The Bog is the only easy map. The Arctic is considered medium. Ocean and Volcanic have been deemed hard and Lunar is very hard. Each zone has unique attributes and offers the player a range of different collectible materials.
Tip 4: Know Where Resources Spawn for Each Biome
Each zone offers unique resources. Making playing each zone a necessity. This is something that can quickly become quite a nuisance. Knowing where to go for what is something you need to research. Luckily for you, we did that research. We are going to stick strictly to the rare resources, things like metal, stone, wood, thatch, berries, fiber, crystals, and hide are things that can be found in all zones.
Bog Biome Rare Resources
- Honey
- Green Gems
- Sap
- Congealed Gas Ball
- Bio Toxin
- Absorbent Substrate
- High-Quality Pollen
- Fungal Wood
- Mushrooms
Bog map offers probably the most resources. Fungal wood and mushrooms are scattered everywhere. Find a giant mushroom and kill it! Honey and Green Gems are found high up in the massive trees (the trees that cannot be gathered). The really rare resources like biotoxin, congealed gas, absorbent substrate, and sap are gathered from giant poison trees down south in the Bog Biome. Run up when it stops shooting gas and collect similar to how you collect from a Bee Hive (for me I press F on it). MyUsualMe shows us how do collect from these poison trees in the video below.
Arctic Biome Rare Resources
- Oil
- Obsidian
- Pelt
I am not sure why the Arctic Zone isn’t categorized as hard because if the fang and talon creatures don’t kill you, you’re going to freeze to death. Oil and obsidian are both black rocks. The oil is a more pointy, sharp-edged, shiny rock. The Obsidian is a flat top, smooth-edged, marble-esque texture. Both oil and obsidian are pretty much all over this biome; mountain bases, pathways, along the riverside pathways, etc. Pelt is found by killing arctic zone-specific creatures such as the mammoths, or other big furry creatures. Set up some spikes and let nature do the rest.
Ocean Biome Rare Resources
- Shell Fragment
- Red Gems
- Green Gems
- Blue Gems
- Oil
- Silica Pearls
Personally, apart from the eels, the Ocean Zone (to me personally) feels like it should have been the Medium Danger Threat Zone. Yes, you have to swim really deep down, but if you dodge around and avoid the wildlife, it’s not really that bad. Tame a Megalodon and start exploring! The oxygen tank is tripled in the ocean. This may be a bug? But I find that in the ocean zone specifically, I can hold my breath for infinitely longer.
All the above resources are found in the depths of the ocean biome. Silica Pearls will be the easiest to reach. They are found on large underwater mountain pillars. They grow on the vertically on the walls not too deep. Oil is deep down there (much easier to get oil in the arctic or volcanic). The gems are found in little cave pockets. Teachers Game Too created a video for finding all gems in one single location, approximately at [20.4 : 49.1] his video is below.
Volcanic Biome Rare Resources
- Element (identified visually as red)
- Oil
- Obsidian
- Black Pearls
- Gems
This zone is okay for resources, but not nearly as rich with rare items like the others. The super rare items such as Element is very difficult to obtain in the Volcanic Zone, so I’d recommend grabbing Element from the Lunar Biome instead. Oil is found bubbling in oil pits, you can place an oil refinery on top of the spawn and farm oil super easy.
The Black Pearls are probably the biggest resource draw for this zone. MrDolphin of YouTube took the time to create a great video recording all the locations of some of the rare resources per zone. We have cut to the Black Pearl portion of the video, but feel free to watch his full video, he does a great job at tracking down specific locations for rare resources spread throughout all the biomes.
Lunar Biome Rare Resources
- Ambergris (found in the floating whale’s inventory)
- Element (identified visually as green)
- Fungal Wood
- Red Gem
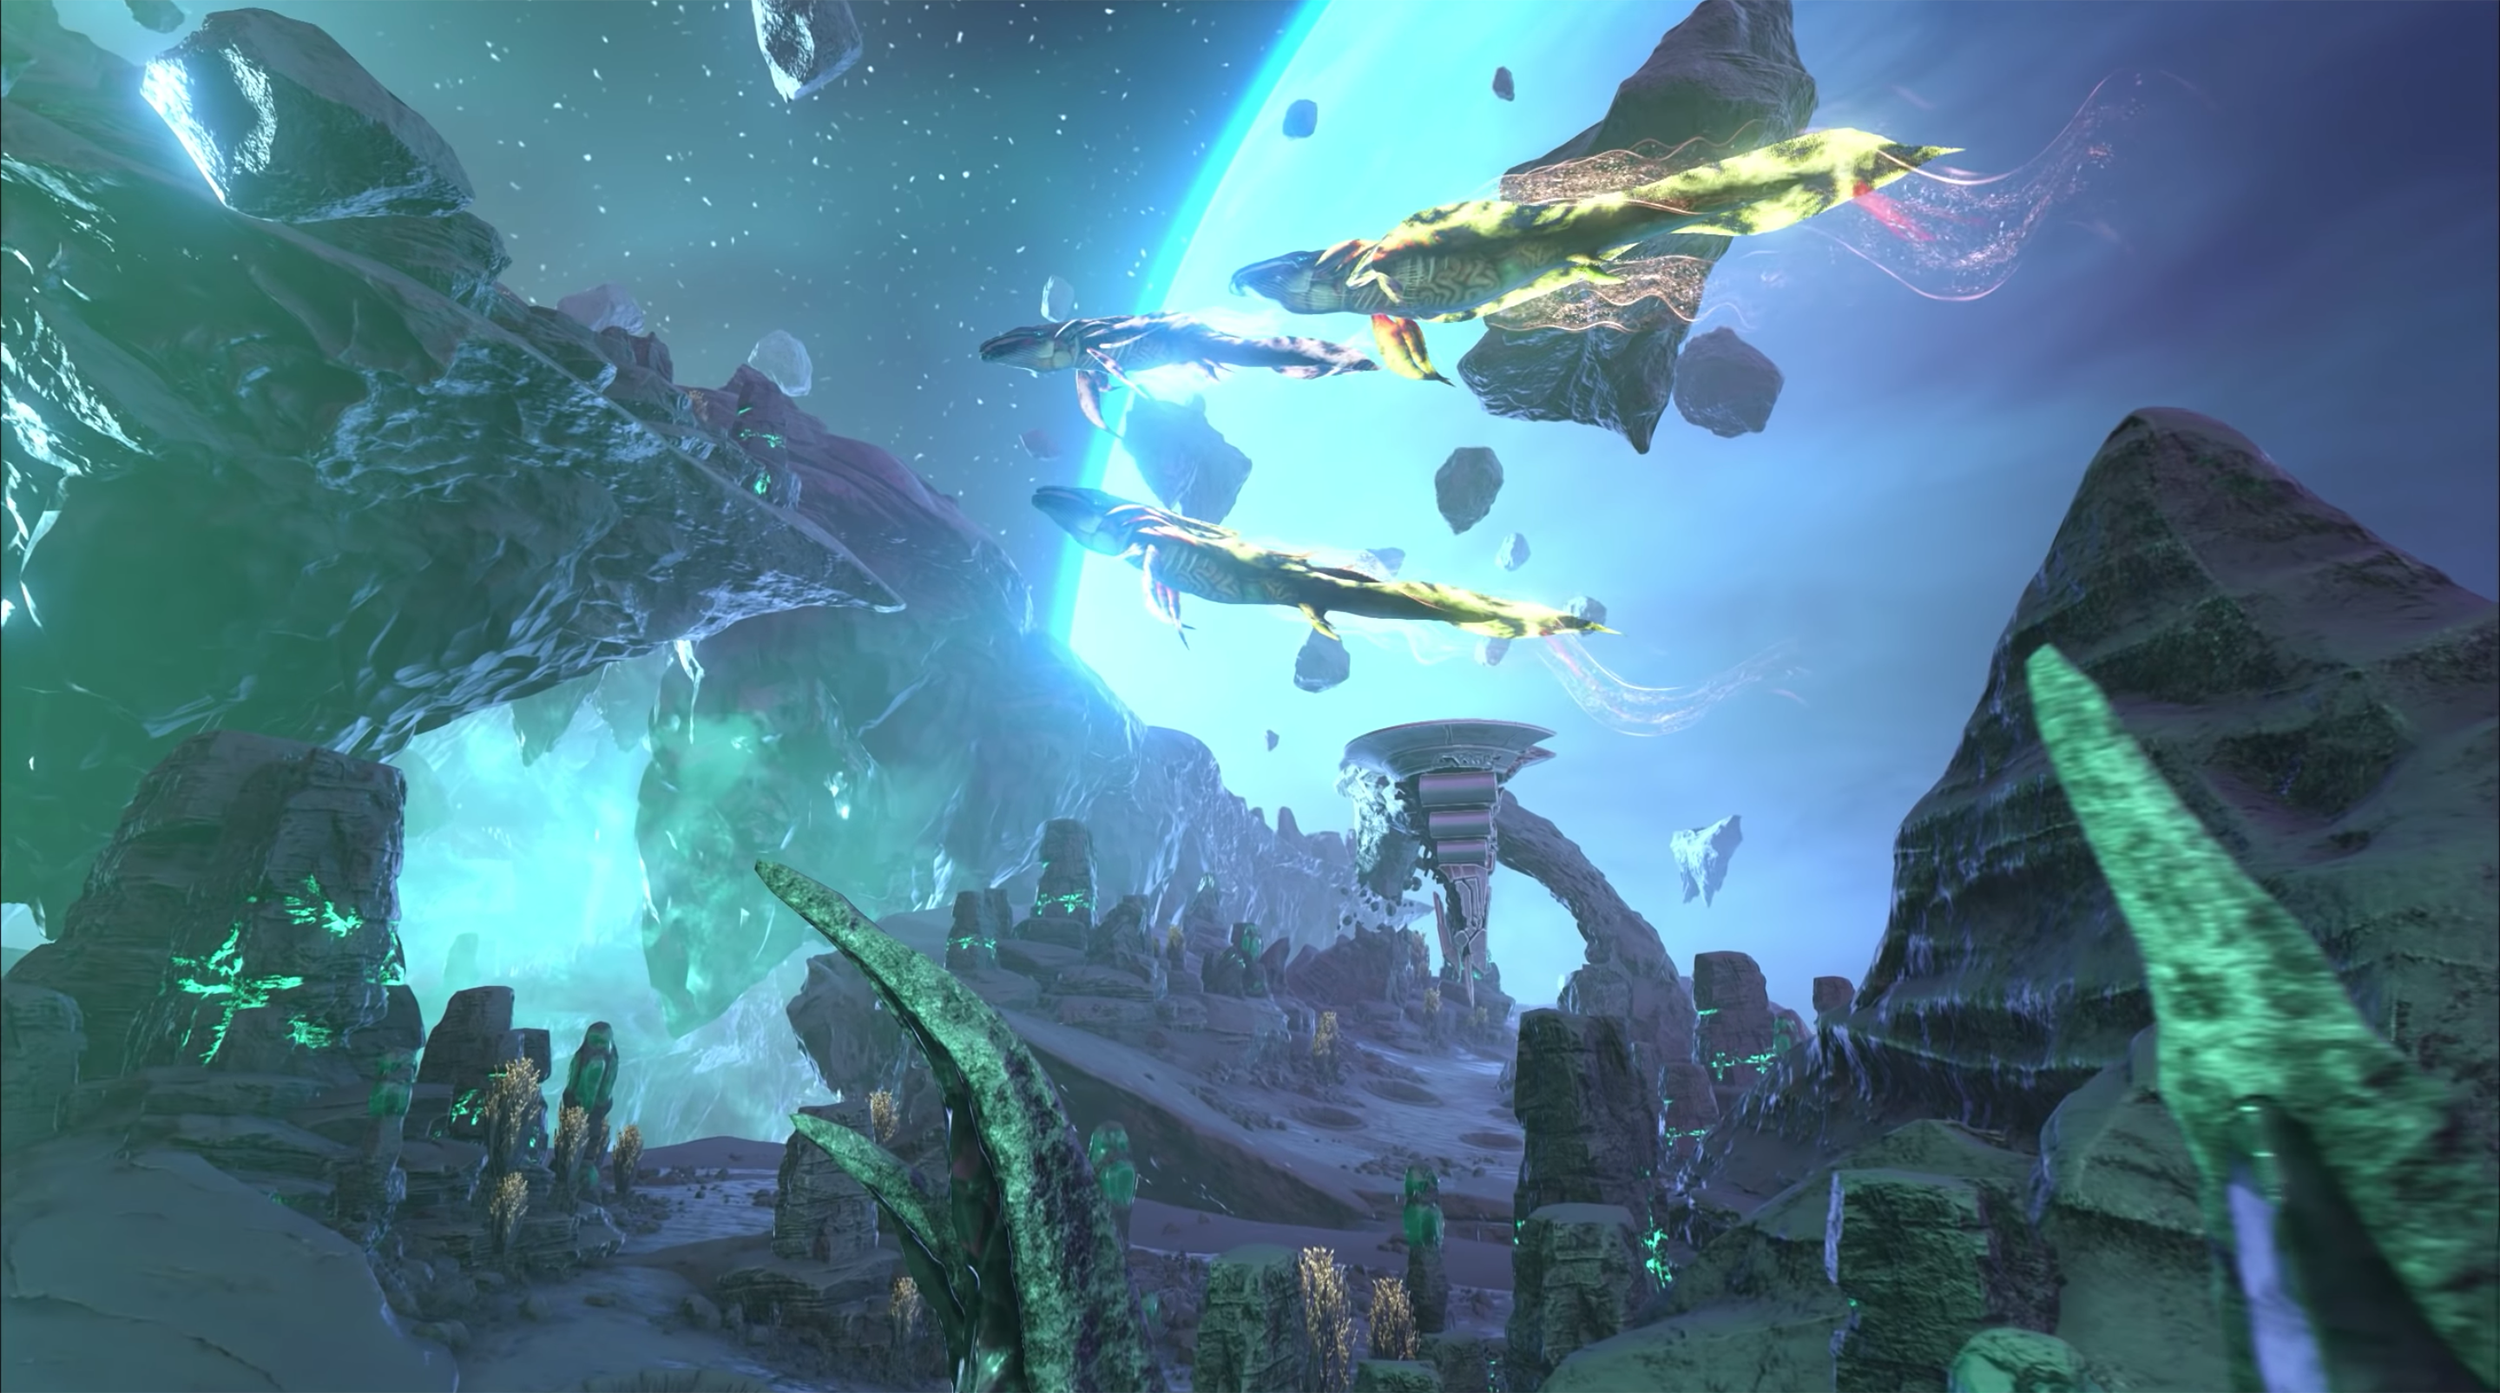
For those who enjoy the Tek dinosaurs, low gravity, and a plethora of Element, the Lunar Zone will be your favorite map. Low gravity and infinite possibilities for a cool base on a rock floating in space. Element is green in lunar and can be found in caverns, or on the side of the rock. Fungal wood can also be found here along with red gems. If you would like to see the Lunar map before you enter, check out the nooblets.com video below.
Tip 5: Tame Creatures ASAP
You should always double up your defense when playing Ark. The world is intentionally difficult and focused around the creatures. The game wants you to earn the mounts, so start out early. Whether its flying mounts, metal collectors, or straight-up angry monsters for defense, you need that mount ASAP.
If you don’t have a corral for your dinos quite yet head on over to the Hexagon Exchange and grab yourself a Cryopod. They are available for 500 hexagon points. Charge them at the Cryofridge and don’t let the charge run out, or the animal inside will die!!
So far my favorite new creature in Genesis would have to be the Bloodstalkers in the Bog Biome. They pull you in and suck your blood if you are not careful, but when tamed make a fantastic mobility utility for all zones. They offer webs for easy climbing and an attack action that pulls in your enemy and drinks their blood. It’s a gross, but necessary mount. Taming them requires patience, parachutes, and blood bags. For more information on how to tame these creatures visit our guide on How to Tame Bloodstalkers in Ark Genesis.
So there you have it! Five tips on how to best improve your Ark Genesis Experience. We hope you found this helpful. Happy Gaming!