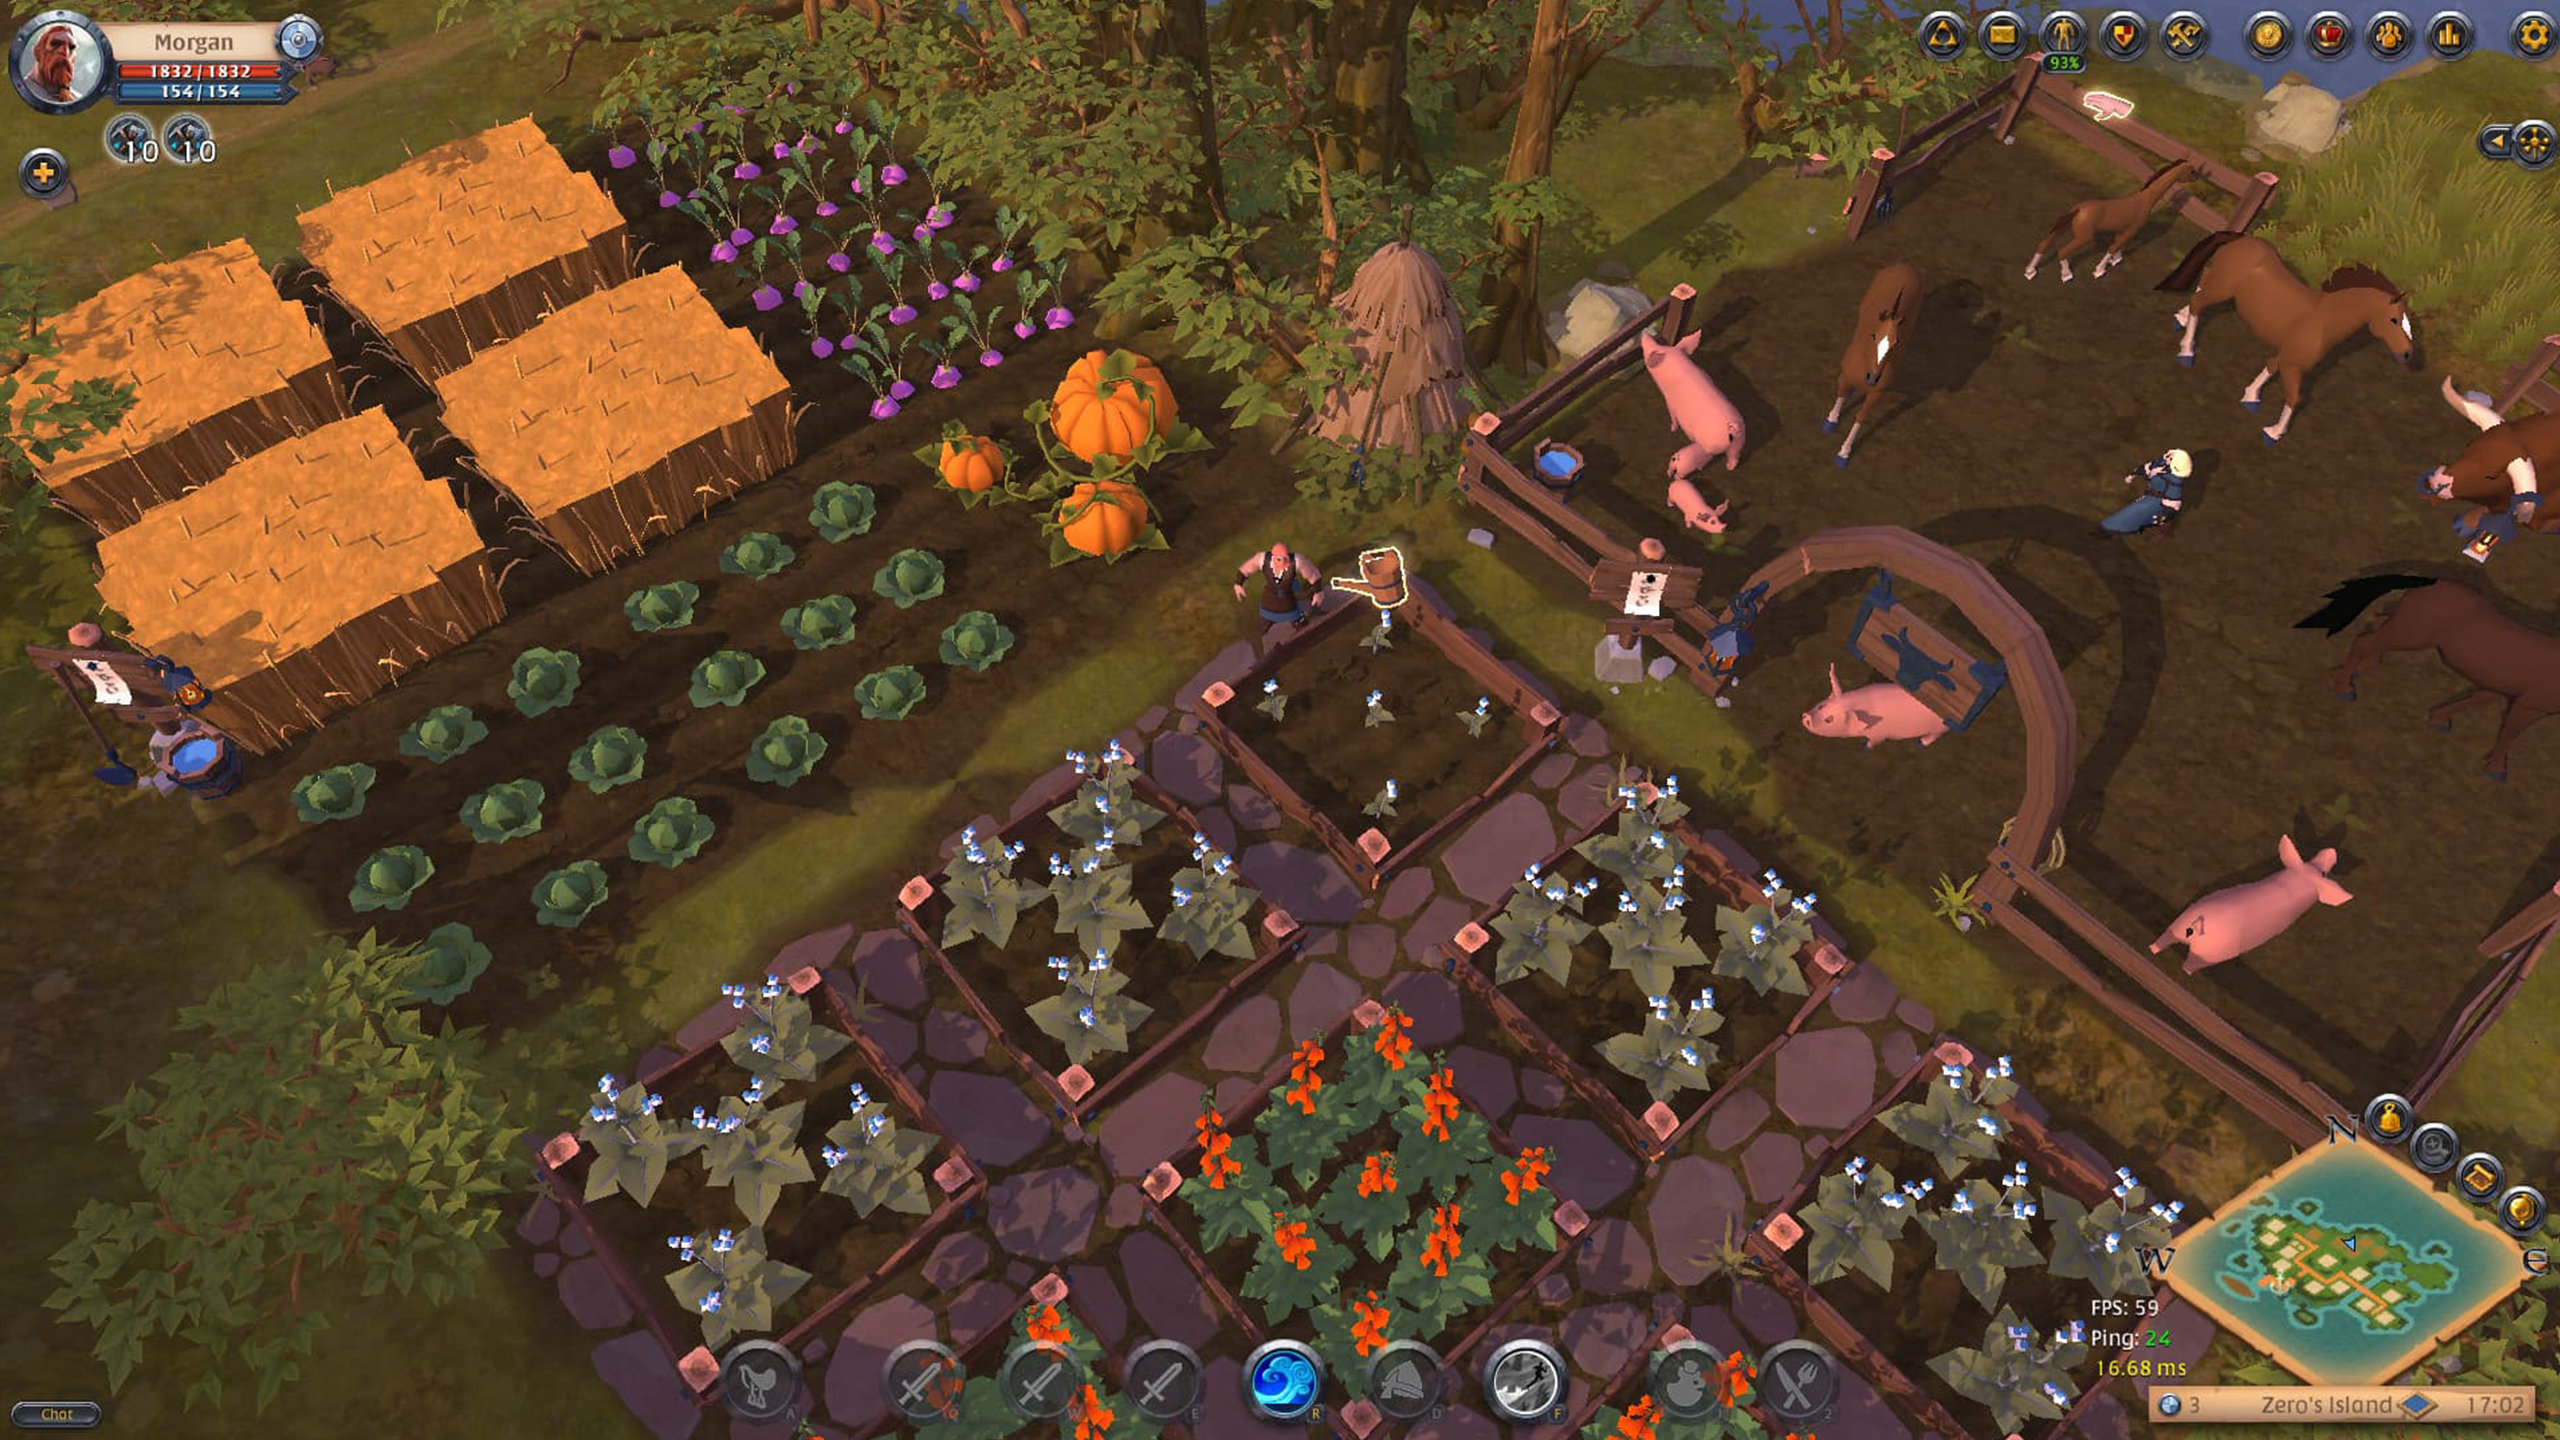
The Islands in Albion Online offers players a sacred place away from the hordes of players in cities. Farm, craft, build a home, store items, and more. This personal island is your own oasis away from the cluttered city life. The upside to your personal island, no taxes! The downside, you have to level up all your crafting benches yourself. In this guide, we will be diving into everything you need to know about getting your island started!
Table of Contents
Which City Should You Live In?
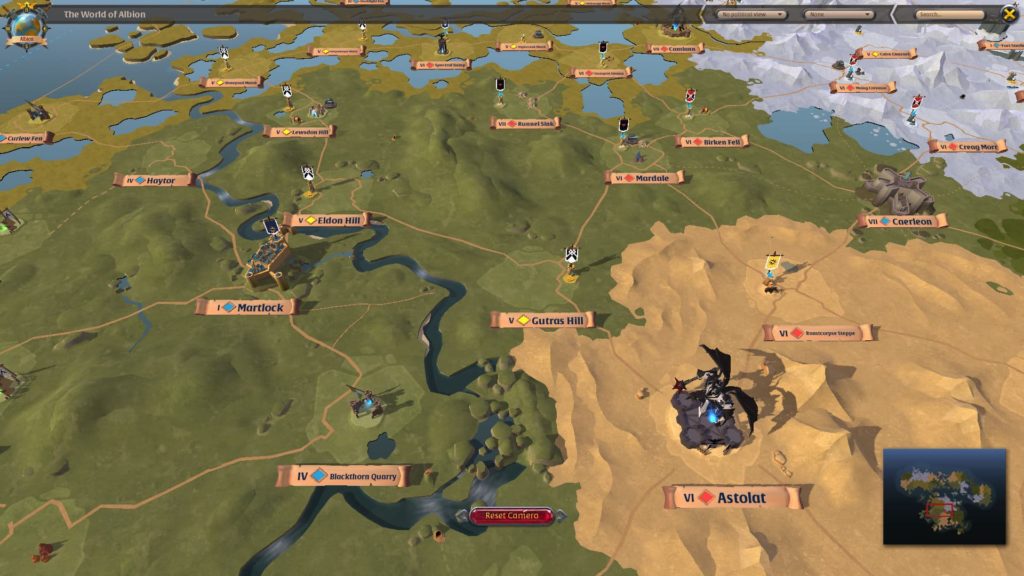
The first thing you need is to do pick a city. All Islands are the same, it does not matter which city you buy it from, you will have the same layout. The only difference is the resources surrounding each city. Each of the regions have a dominant profitable resource. Therefore, when selecting a city, you might want to take this into account. This is also important if you want to specialize in a particular craft.
Dominant Resources by City:
- Thetford – fiber
- Martlock – stone
- Bridgewatch – leather
- Lymhurst – wood
- Fortsterling – ore
- Caerleon – PvP
All the cities have their benefits (listed above). Another thing to consider is the people/clan you are playing with. Living in the same city as your friends makes it easier to squad up and run around to get loot.
Caerleon is the only city I’d consider heavily thinking about before choosing to live there. It is surrounded by red zones, and you can’t travel with luggage into Caerleon. Therefore, the entrances into this city are huge choke points for PvP. Clans with numbers like to hideout and gank players trying to make it back to the city. Large clans like to live in Caerleon, if you are solo or a small group, you might want to consider living in a different city.
How to Buy an Island
First, and most importantly, you will have to purchase at least one month of Premium. Once you have unlocked your island, it’s yours forever. Your personal island in Albion Online will not disappear when your Premium account expires. The only way it will be inaccessible is if you choose to “abandon” it.
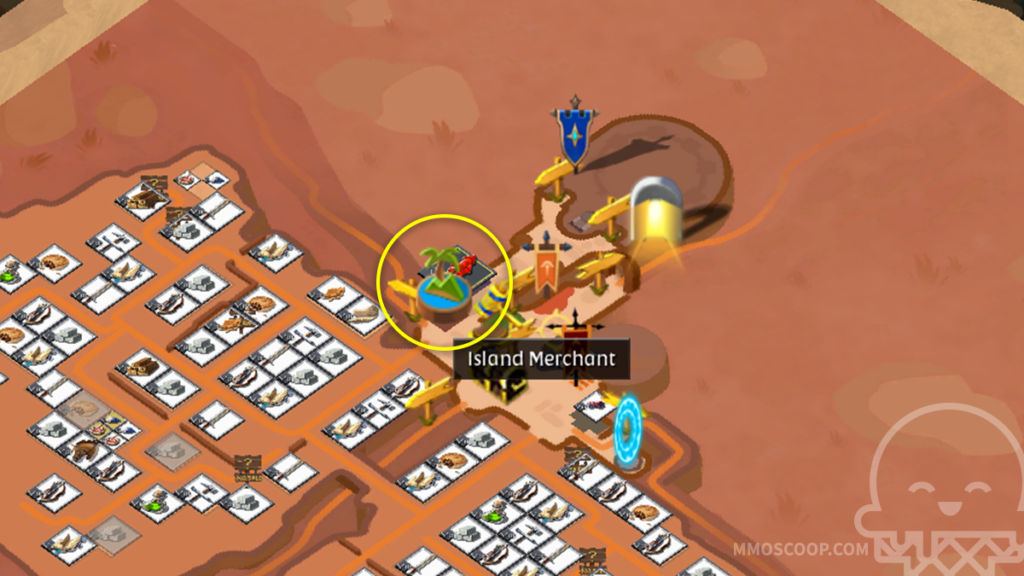
Now that you have purchased Premium travel to the city you would like to live in. Once inside the city walls, look for the island icon (icon is circled in image above). Typically, this merchant is near the Marketplace. Find the Island merchant, and interact. You will see a HUD that will allow you to purchase an island for silver.
Island Purchase Tiers (not including Global discount)
| Tier | Fertile Soil Plots | Concrete Plots | Price (Silver) |
| 1 | 0 | 0 | 18,750 |
| 2 | 1 | 3 | 56,250 |
| 3 | 2 | 5 | 187,500 |
| 4 | 3 | 7 | 562,500 |
| 5 | 4 | 9 | 1,875,000 |
| 6 | 5 | 12 | 3,750,000 |
Building Crafting and Farming Stations (fertile vs concrete)
Press H to see all the properties you can build. Each property will have particular requirements. One requirement is size, the other is plot type. If you are looking to build a crafting station; nine times out of ten it’s going to require a concrete plot. The size may differ, depending on the crafting station you may need a large or small plot.
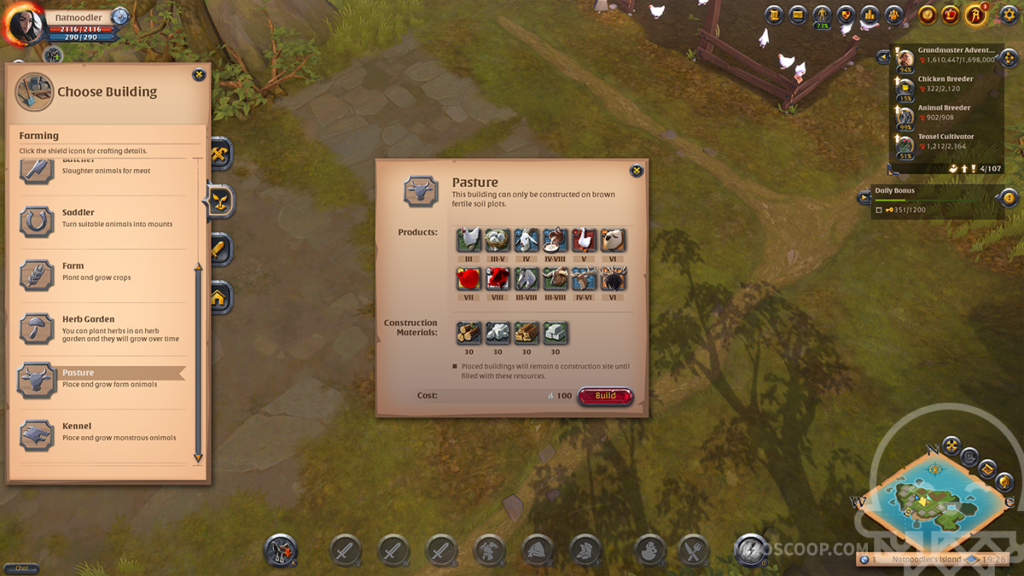
The growing and farming plots will require fertile soil plots. Farming, herb gardens, pastures, and kennels are the types of things that will require fertile soil plots. The items planted or raised (animals) will stay “fresh” until you choose to collect them.
Grey Concrete Plot Buildings:
- Stonemason
- Repair Station
- Alchemist’s Lab
- Cook
- Mill
- Butcher
- Saddler
- Warrior’s Forge
- Mage’s Tower
- Hunter’s Lodge
- Guild Hall
- House
Brown Fertile Soil Plot Buildings:
- Farm
- Herb Garden
- Pasture
- Kennel
A specific amount of resources will be required in order to build each building. There will be an initial build cost plus additional resources required to upgrade the property.
Upgrading Buildings
In order to craft all of the items available in a crafting station it will need to be upgraded. As your crafting station becomes more advanced, so will the resources required to upgrade it. To obtain the resources you can either farm them out in the world, or buy them from the Marketplace. There is a market in each major city.
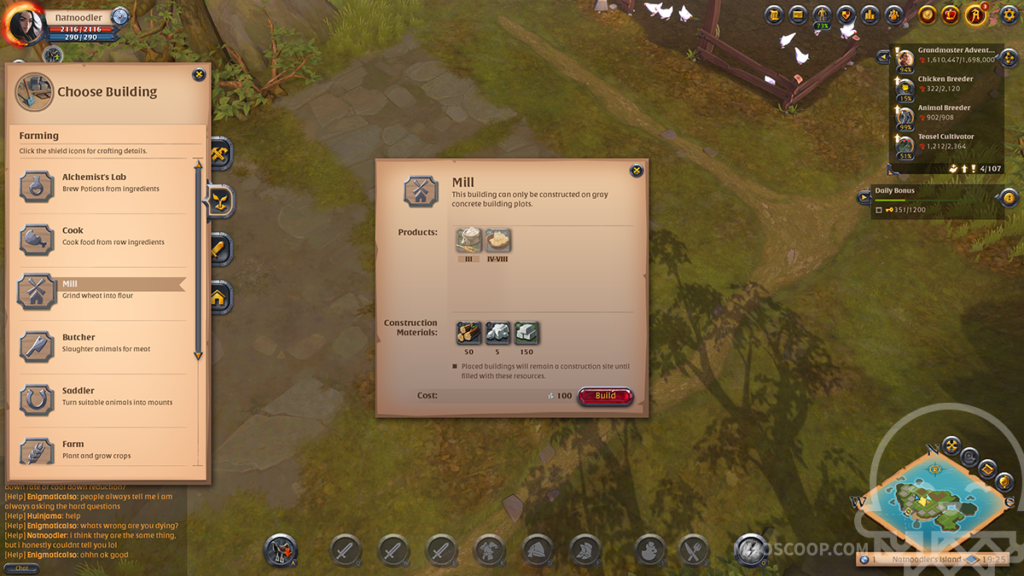
Fully upgrading these stations is quite an expensive task if you aren’t taking the time to gather all of the resources. I’d recommend making some friends and grouping up to share the responsibility of fully upgrading all of your crafting stations.
Traveling to a Player Island
Traveling to a player island is simple, head over to the island merchant and travel once inside the city. If you are in the city where you purchased your island it’s free to travel. If your inventory is empty, you will be able to travel to and from any of the cities. This doesn’t help much if you are gathering resources, but nice to know.
Players can also access other players’ islands. In order to visit an island that is not yours, the owner of the island will have to add you as an approved visitor. This can be done in the Access Rights board on the dock (see below).
Island Permissions
To add an approved visitor to your island head over to the dock. Look for the “Access Rights” Board, once inside the access rights HUD you will be able to add or remove players from joining your island.
You can also give players different levels of permissions. Allow friends to help build, collect and upgrade buildings, or remove all but visiting rights. Players without rights to edit the island can come over and look at all your things, but won’t be able to use anything.
Moving Personal Islands to Another City
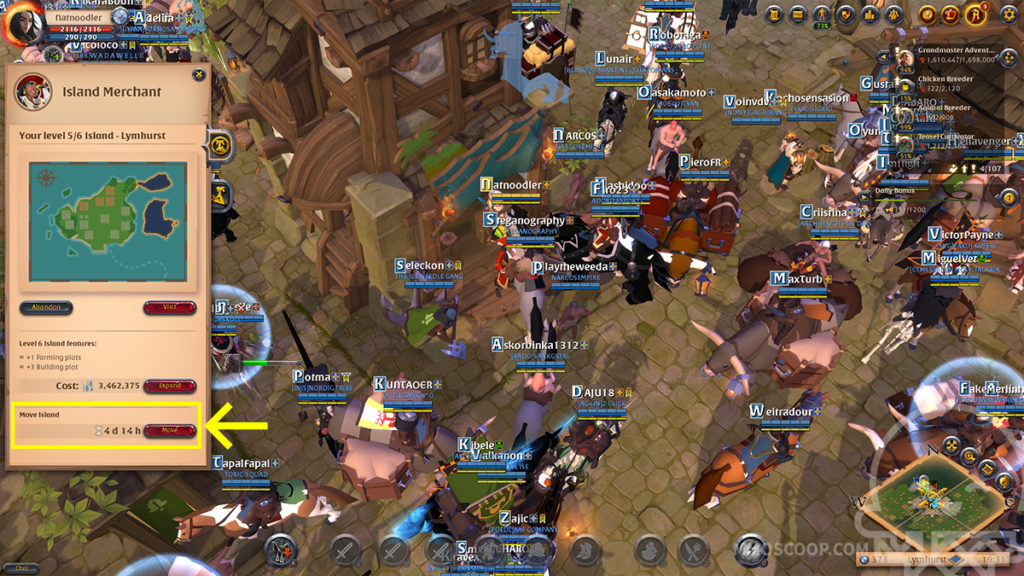
If you hate the city you live in, you can move for free once. To do this head over to the island merchant, look to the bottom of the HUD, you will see “move island”. Click it, a new tab will open up where you will be able to select the new city you wish to move to. You can only do this once, so make sure you are happy with your selection.
You are able to move your island as is. No need to dismantle anything. Simply head over to the Island Merchant and select the city you want to live in and done.

